
Exceptions are raised for a multitude of reasons, most commonly: no in-clocking, already clocked-in, clocked-in late, and many more. These exceptions are very useful at determining when an employee is late or has forgotten to clock-in and there are many different ways to manage these exceptions. This guide will show you how to manage exceptions using the attendance screen.
How to manage Exceptions on the attendance screen:
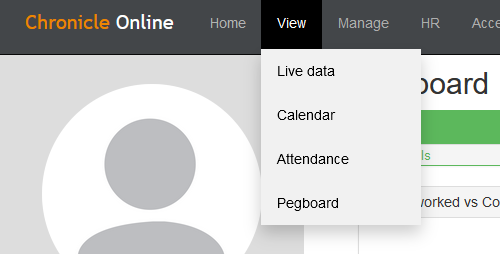
First, you need to go to the Attendance screen. This is done by going to View > Attendance as seen below:
Once at the Attendance screen you will be presented with this table:

This is where you can see the attendance of all of your employees on the selected Tag. As you can see both Zac and John have three exceptions for Monday - Wednesday, shown by the red warning symbol on their shift. In this scenario, I know that these exceptions are ready to be cleared. First, we need to select the shifts we would like to clear the exceptions for. This can be done by clicking each shift highlighting them in a dark grey, as seen here:
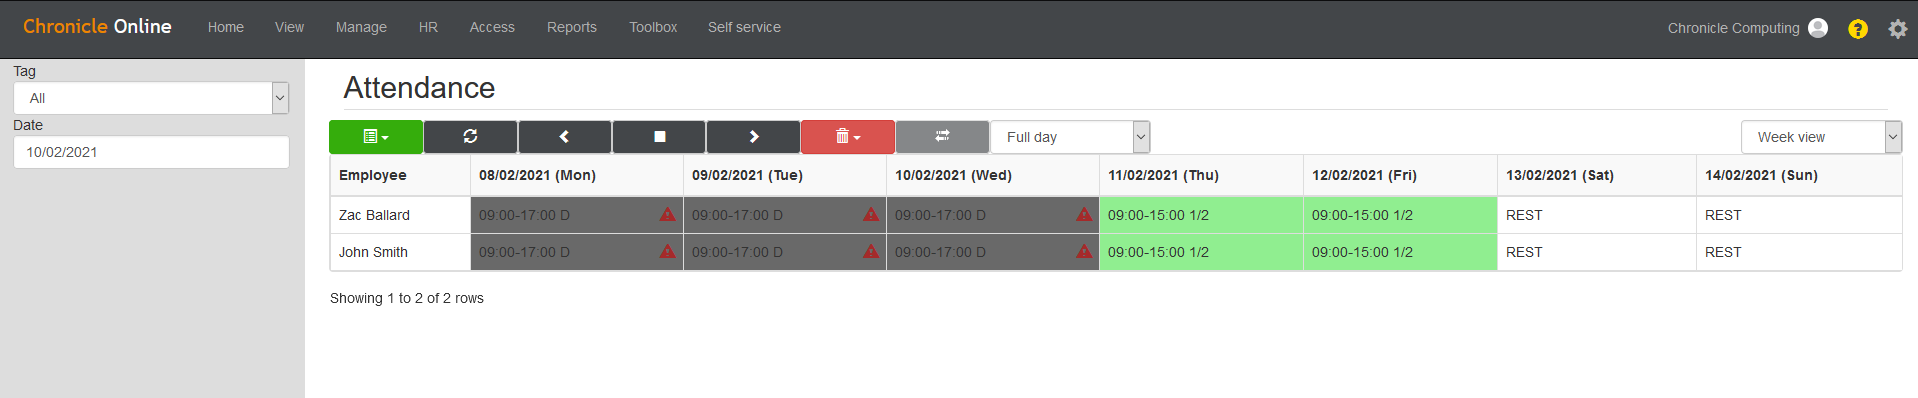
Now the shifts have been selected we need to clear the exceptions. This is done by clicking the red bin drop down and then clicking the 'clear exceptions' option as you can see here:

Clicking the clear exception button will take a few seconds, and when completed you will see this message box:
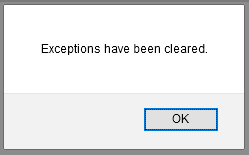
Click 'OK' and you will then see that the Attendance table no longer shows the red warning symbols for exceptions, this means the exceptions have been successfully cleared. This can be seen here:

All the selected exceptions are now cleared.
Comments
0 comments
Please sign in to leave a comment.