
Enter the settings menu by clicking the cog at the top right of the screen.
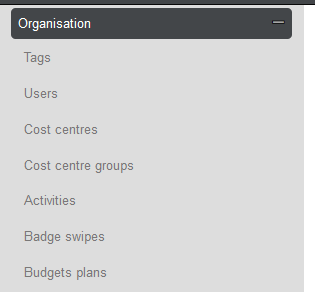
Go to Organisation > Budget Plans.
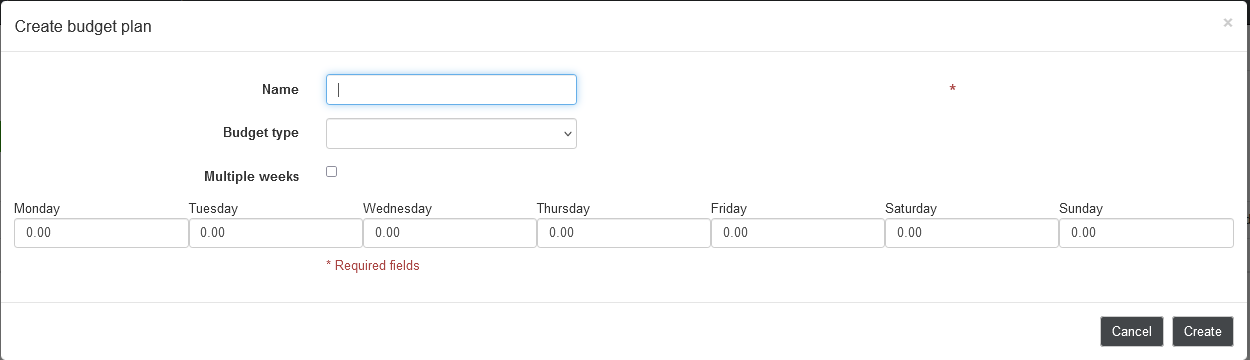
Click the green plus to add a new budget plan.

Fill out the name, and budget type, and click create - do not fill out any more details yet.
Once created, go back into the budget plan by double-clicking and tick the 'multiple weeks' box.
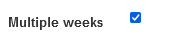
Then click the 'create weeks' button.
This will then insert the table of 52 weeks into the budget plan, you will now be able to fill out the hours for each week that apply.
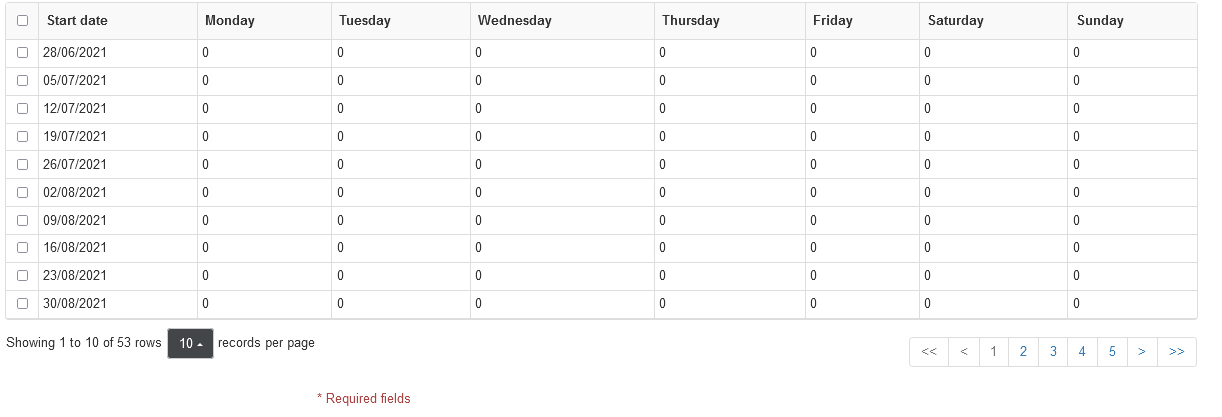
Once you have filled out the hours that apply you can click save.
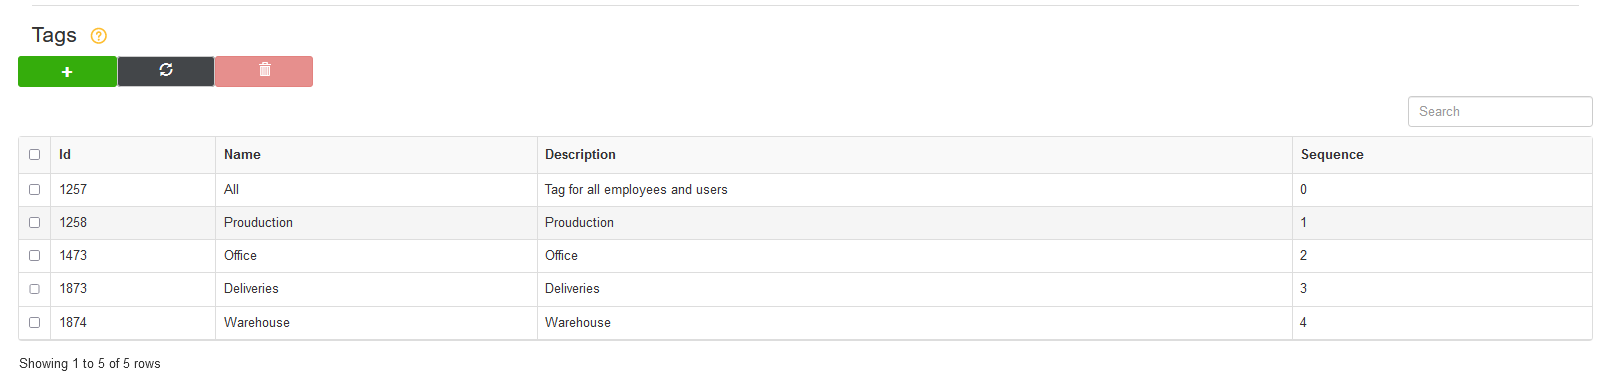
The budget plan has now been successfully created, however you will now need to assign the budget plan to the applying tag. To do this stay in settings, go to Organisation > Tags.

In the Tags, settings locate the tag you would like to apply the budget plan to and double-click on this tag.
In the edit, tag screen fill the budget plan field with the correct budget plan.
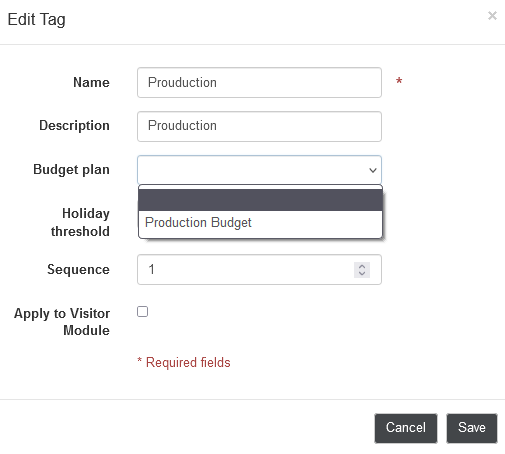
Then click Save.

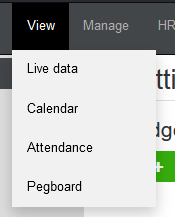
You have now assigned the budget plan to the tag, and you will be able to view the plan by going to View > Attendance.
At the bottom of the attendance table you will be able to see the scheduled budget, rostered hours, actual hours worked, and variance. This will show you if the budget was too little, or too much, how many hours were worked Vs what was actually scheduled.
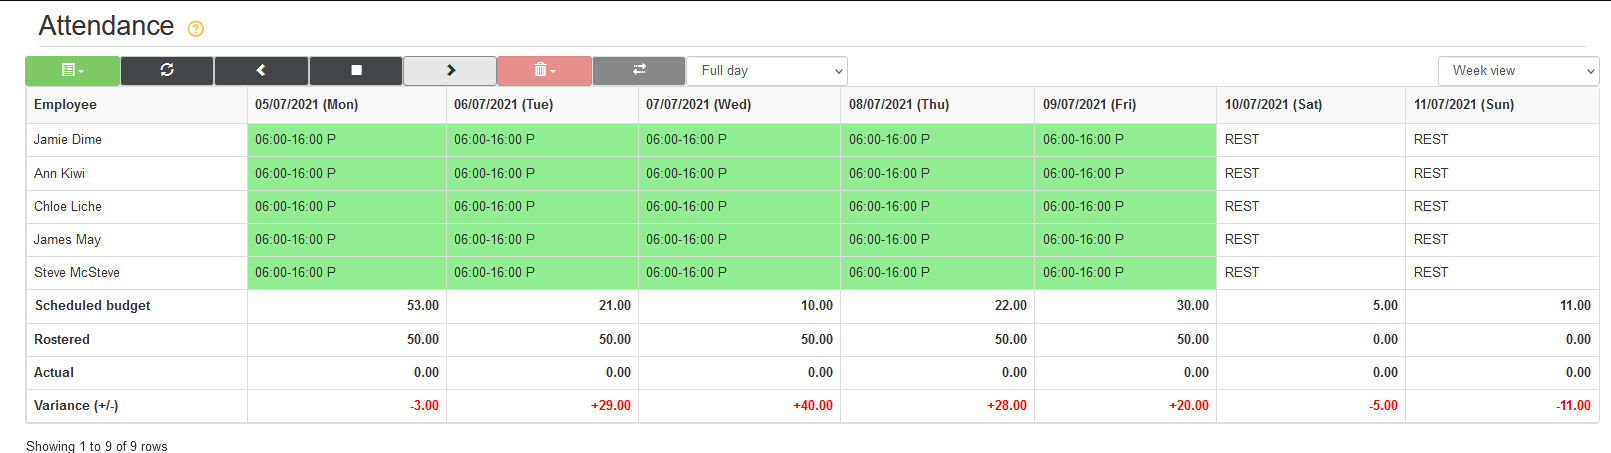
You will be able to use this to make edits to the budget plan in the settings, or to predict future weeks.
Comments
0 comments
Please sign in to leave a comment.